ウッドライフ教室「ペーパーカップホルダー」開催しました
こんにちは指導員の小泉です。
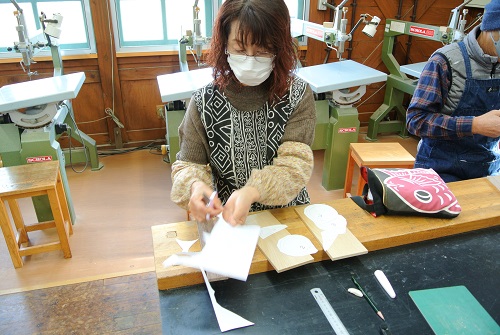
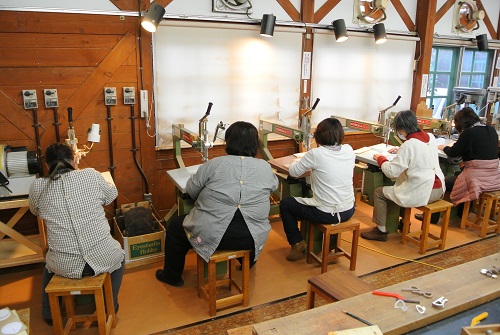
1月15日、1月29日に開催した、糸鋸を使った「ペーパーカップホルダー」を作る様子をお伝えいたします。

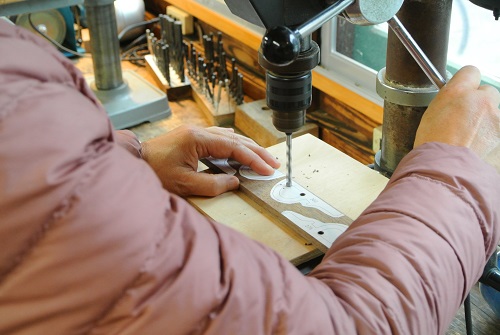
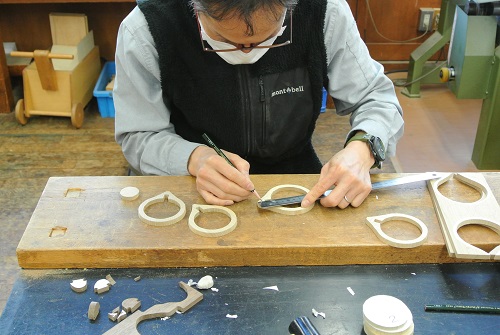
ボール盤を使って、各部に穴を開けます。
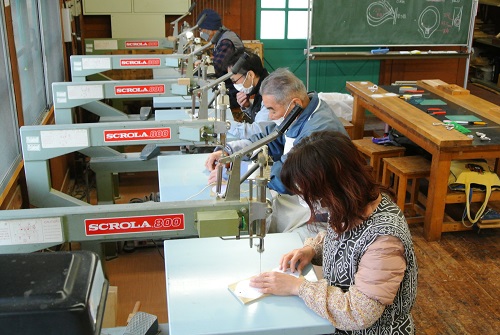
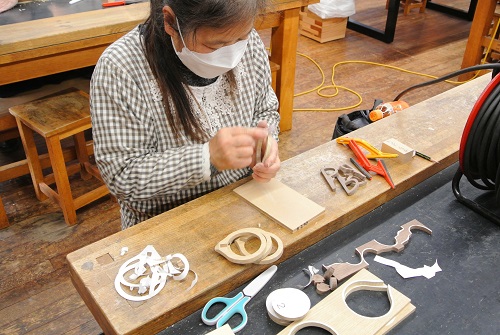
いよいよ糸鋸加工の開始です。
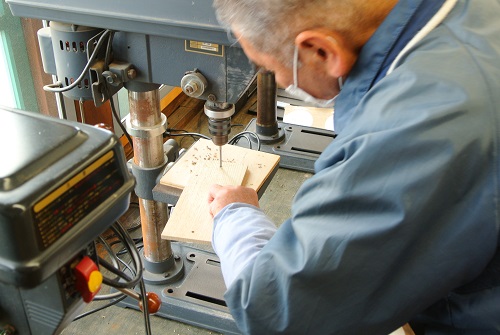
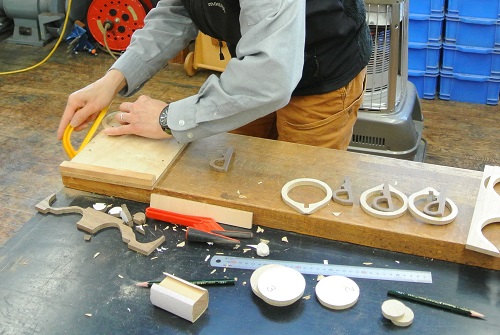
ご家庭でも設置可能な100Vの卓上型糸鋸盤と、常設型でプロ機としても使われる200Vの中型糸鋸盤を駆使していきます。
つい、肩や指先が力みがちになりますが、リラックスしながら切れるように心がけます。

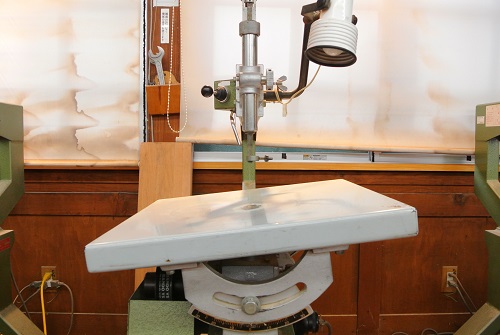
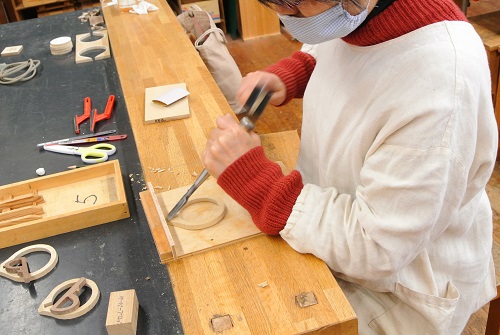
糸鋸盤は、写真のように、定盤を傾斜させることが出来ます。
今回のテーマの一つである、「傾斜挽き」を体験していただきました。
これは、紙コップが下すぼまりになっているためで、保持リングとペーパーカップをフィットさせるための加工です。
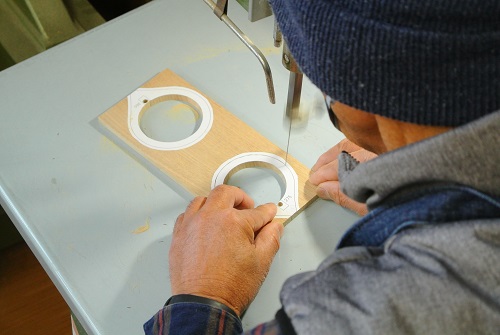
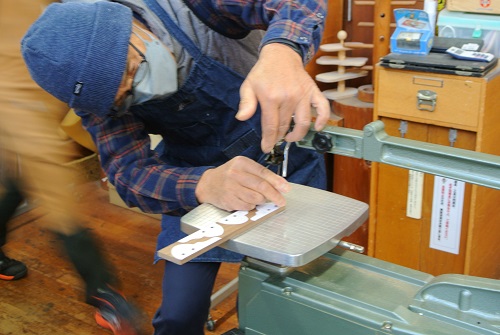
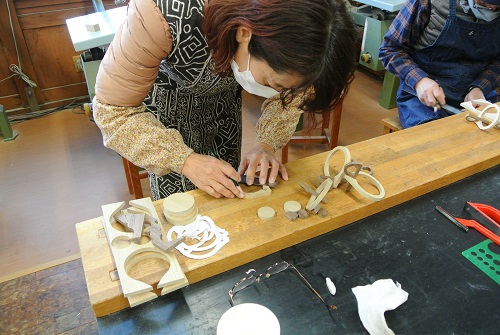
徐々にパーツが切り離されていきます。
正確に線を追っていきながら、糸鋸がゆがまないように、歯の先端を中心に材料をターンしていきます。
かなりの集中力が要求されます。
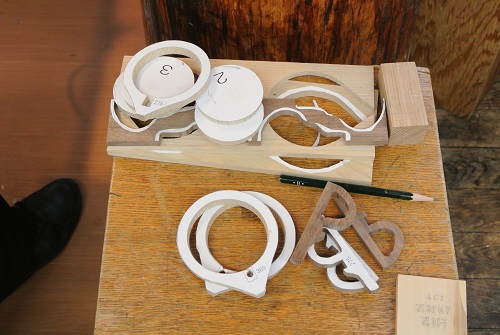
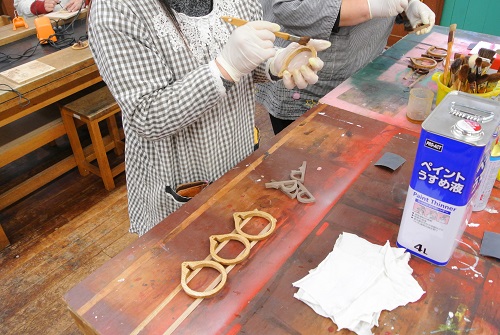
各パーツを面取り、ペーパーヤスリで微調整と塗装前木地作りをして・・・
天然系オイルを塗装して・・・

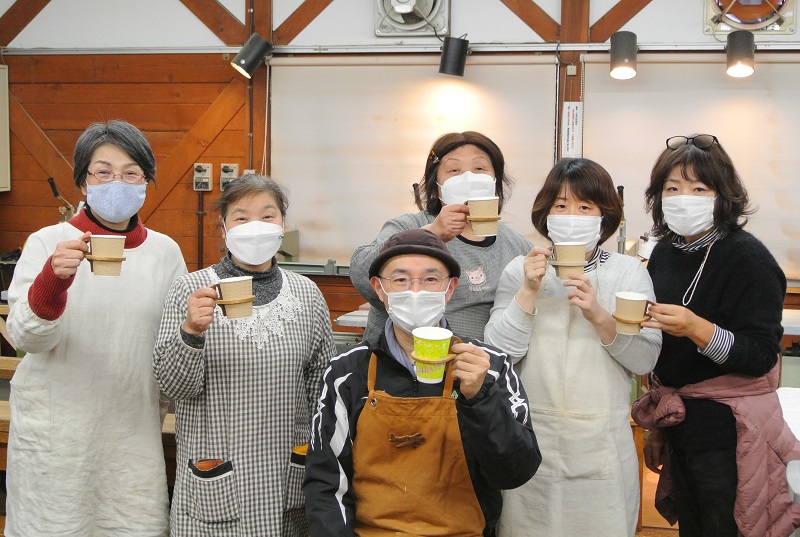
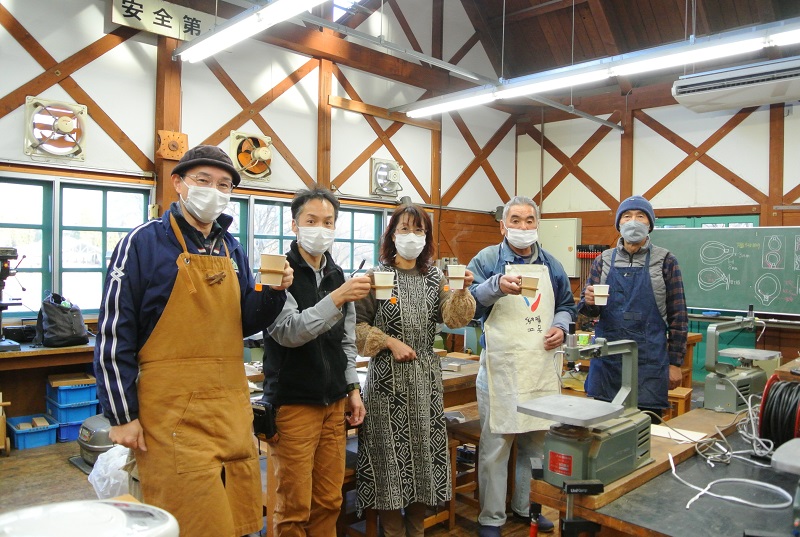
ペーパーカップホルダーの完成です!
時間いっぱいを使い、二つのサイズが出来ました。
アウトドアや、お仕事のコーヒータイムがちょっとリッチになるでしょうか?(^^ )
皆さんお疲れ様でした☕
担当 小泉