ウッドライフ教室「オーバルボックス#4」2日目
こんにちは指導員の小泉です。
ウッドライフ教室「オーバルスボックス#4」の教室の様子をお伝えいたします。
今回は2日目の様子です。
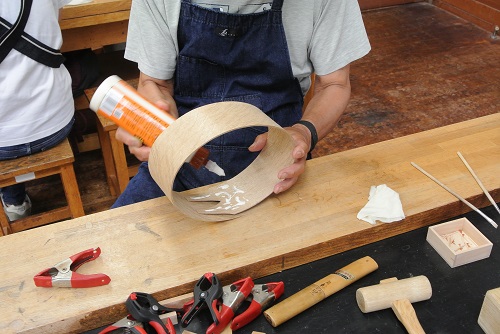
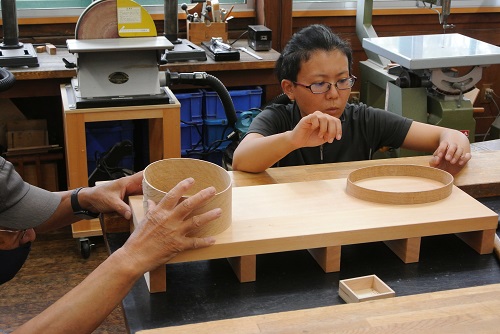
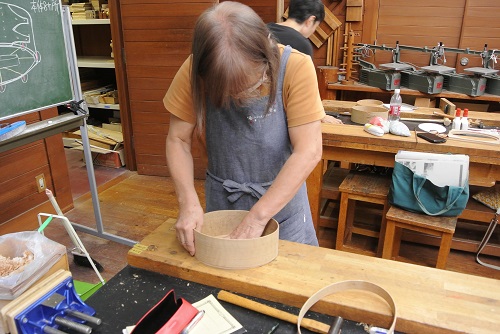
前回木型に当てて曲げたホワイトオークの薄板を、1週間養生しました。
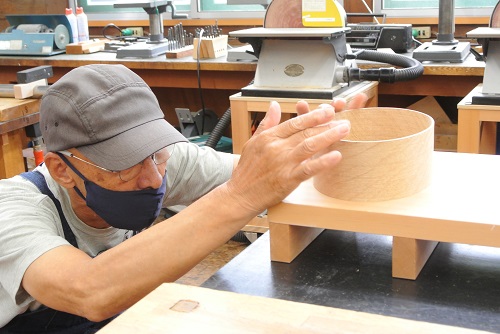
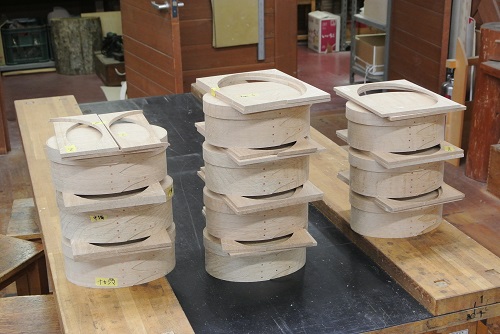
木型から外しても、形を保持しています。これが曲げ木の効果です。
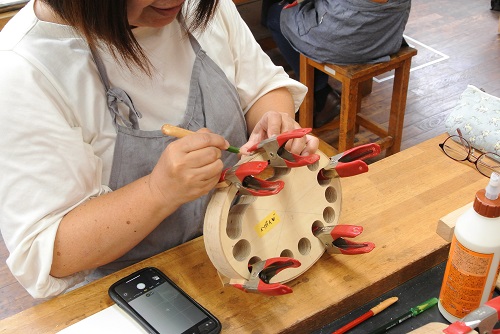
合わせ目(ジョイント)には、接着剤と鋲を使い貼り合わせます。
![](https://tamba.nenrin.org/wp-content/uploads/2023/10/DSC_03931.jpg)
![](https://tamba.nenrin.org/wp-content/uploads/2023/10/DSC_04051.jpg)
![](https://tamba.nenrin.org/wp-content/uploads/2023/10/DSC_04071.jpg)
![](https://tamba.nenrin.org/wp-content/uploads/2023/10/DSC_04151.jpg)
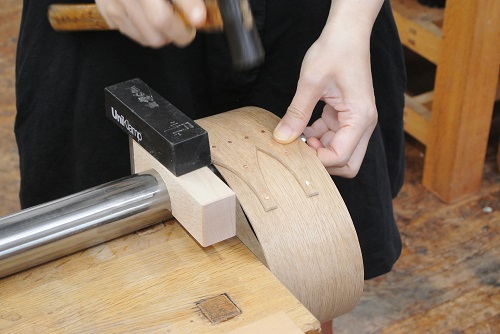
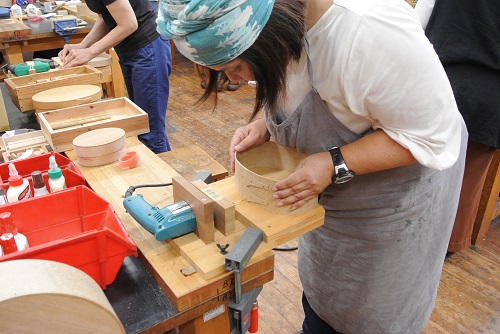
一見単純に見える曲げ木の箱も、様々な道具を使い、加工と工程を経て形作られていくのを実感していただけたらと思います。
これには周到な準備と、道具の調整が大切です。
![](https://tamba.nenrin.org/wp-content/uploads/2023/10/DSC_04221.jpg)
![](https://tamba.nenrin.org/wp-content/uploads/2023/10/DSC_04231.jpg)
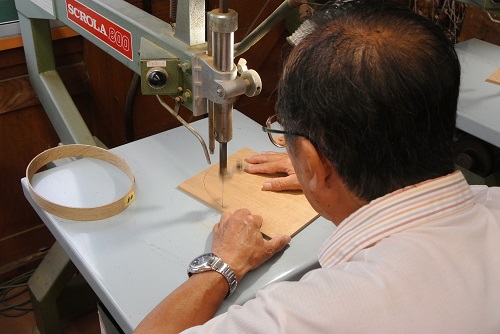
枠にしっかりとはめ込むため、糸鋸盤を「傾斜挽き」の技法を使って、天板と底板を切り抜いています。
![](https://tamba.nenrin.org/wp-content/uploads/2023/10/DSC_04291.jpg)
![](https://tamba.nenrin.org/wp-content/uploads/2023/10/DSC_04331.jpg)
![](https://tamba.nenrin.org/wp-content/uploads/2023/10/DSC_04361.jpg)
![](https://tamba.nenrin.org/wp-content/uploads/2023/10/DSC_04441.jpg)
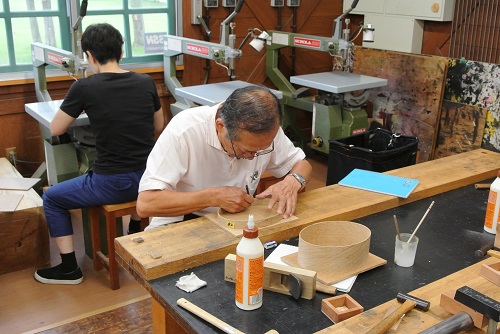
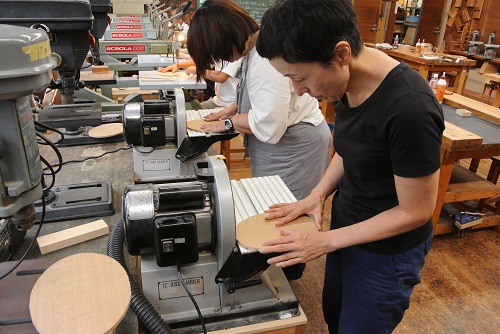
木釘を打つための下穴を開ける横軸ドリル治具は、このために特別に作っています。
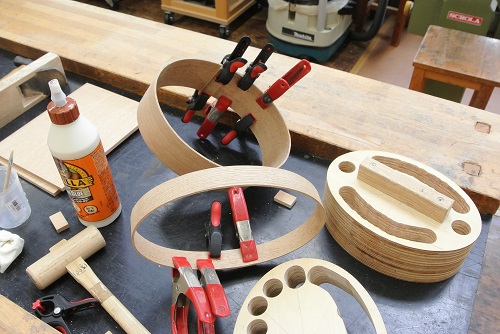
接着剤、傾斜挽きによる嵌め合い、木釘と3重にしているので、かなり丈夫に組み立てられています。
![](https://tamba.nenrin.org/wp-content/uploads/2023/10/DSC_04481.jpg)
![](https://tamba.nenrin.org/wp-content/uploads/2023/10/DSC_04551.jpg)
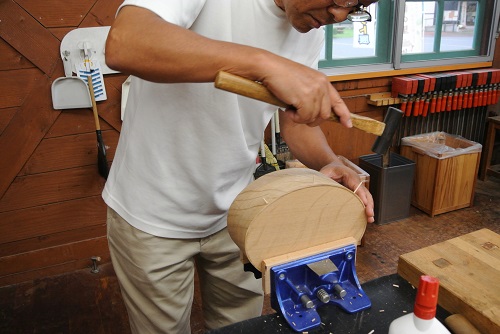
時間いっぱい使って、箱の形にまとまりました。
![](https://tamba.nenrin.org/wp-content/uploads/2023/09/DSC_04581.jpg)
次回は焼きペン体験と、塗装仕上げになります。
担当 小泉